

 The
Events Admin window is
displayed.
The
Events Admin window is
displayed.
In the Event
Name field,
enter a name for the event.
Select the event start and
end Date and
Time.
If the event spans multiple days
and you want it to appear on each
day in event listings,
select Show
On All Days.
If the event is recurring (e.g.
repeats every week for six weeks),
click Set
Recurrence
Options and configure
the recurrence pattern.
Optionally, enter
a Tagline /
Short Description.
Enter
a Location.
From the dropdown, select the
appropriate View
Permission. 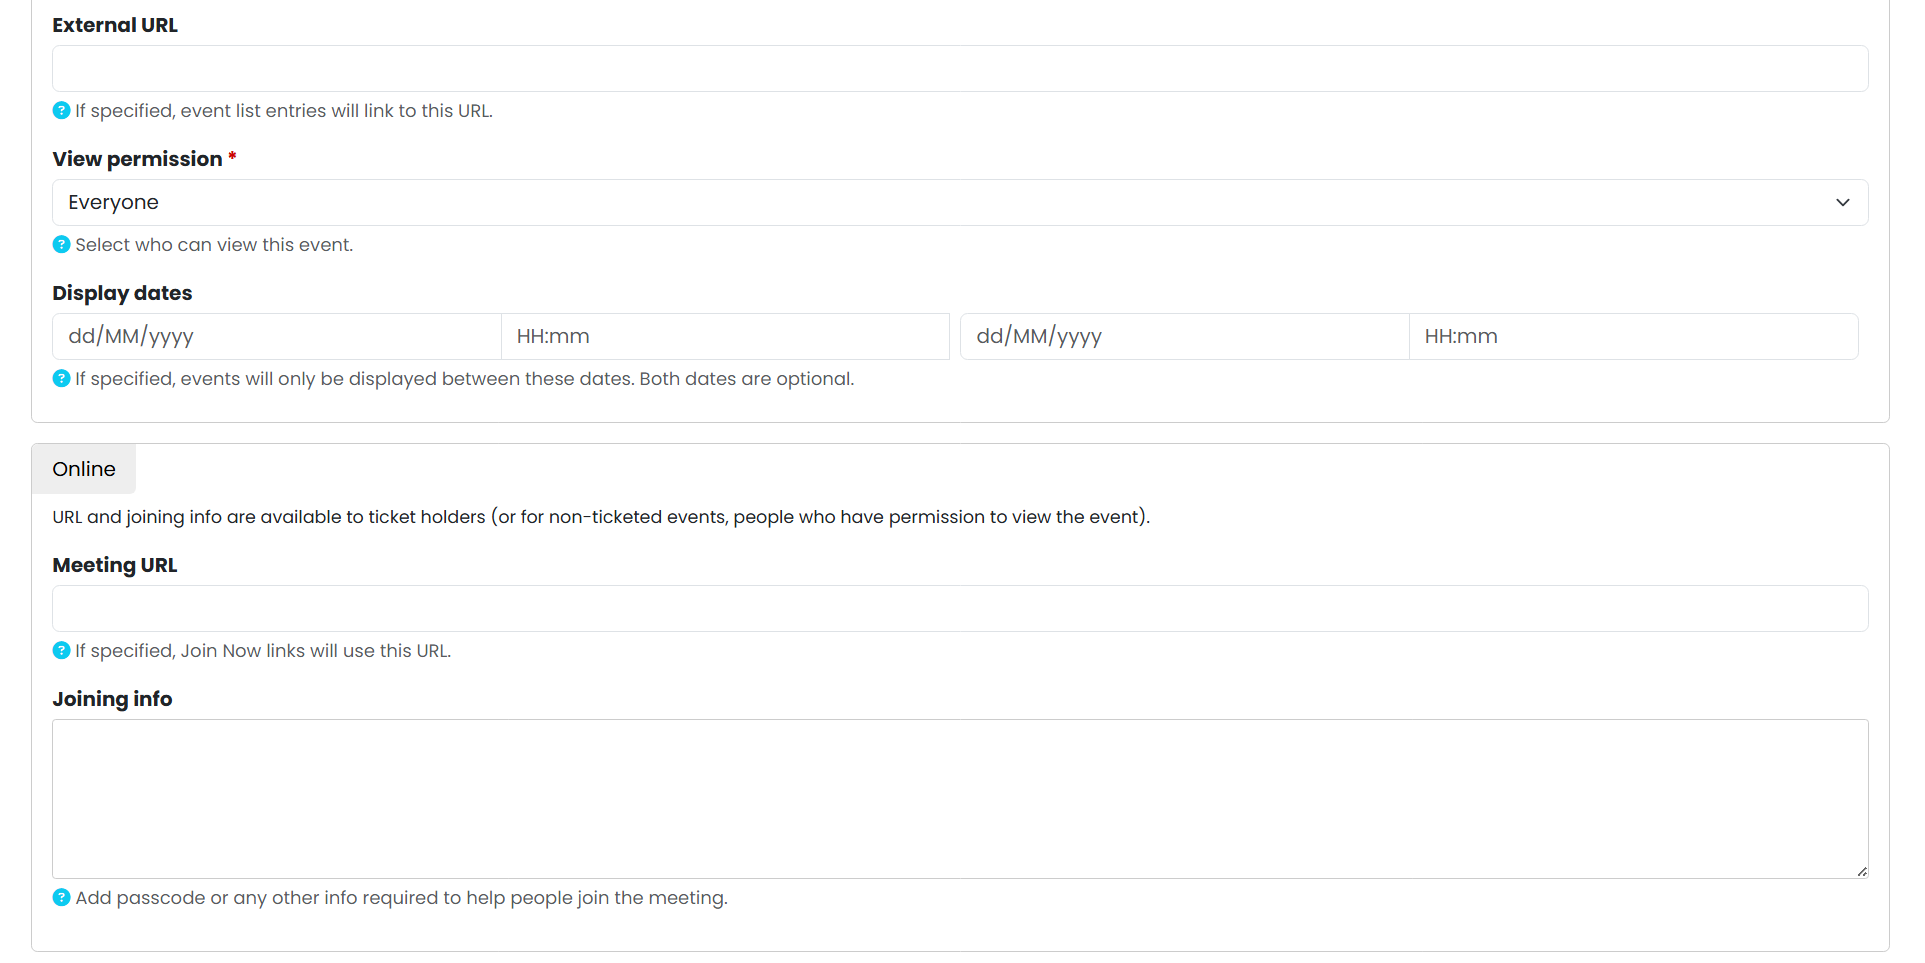
IMPORTANT: Select your
Department from the Event
Types list.* You must do
this for your event to display
correctly on your section of the
website.
Upload
an Image and
enter Alt
Text. Your image should be
an Event Banner (1140 x 415px) and
must have been approved by Comms
& Design. For more details,
see DIY
Designs.
In
the Description field,
enter a short description about
your event, including any
necessary links (i.e. to your
ticketing if it is a ticketed
event). 
Click Save
Event(s). A confirmation
message is displayed.
Please
note,
it is best
practice to
add an event
to the UMSU
calendar,
rather than
creating a new
webpage for
it.
Ensure
that you use
your
"Organisation"
when adding an
event. In this
video, the
UMSU
organisation
is used. For
example, if
you were
hosting an
Advocacy event
you would use
the "UMSU
Advocacy"
organisation.
This will then
populate on
your event
page and the
"All events"
page.
Handy
Tip -
remember
if your
event is
online via
Zoom for
example,
make sure
you have
used a
waiting
room as
this works
best with
our
website.